Discover the Art of Property Photography for Designers
- mbisolutions
- Mar 4
- 3 min read
In the world of design, the visual representation of a space can make or break a project. Property photography is not just about capturing images; it’s about telling a story that resonates with potential clients and showcases the designer's vision. Whether you are a seasoned designer or just starting, understanding the nuances of property photography can elevate your portfolio and attract more clients.
The Importance of Property Photography
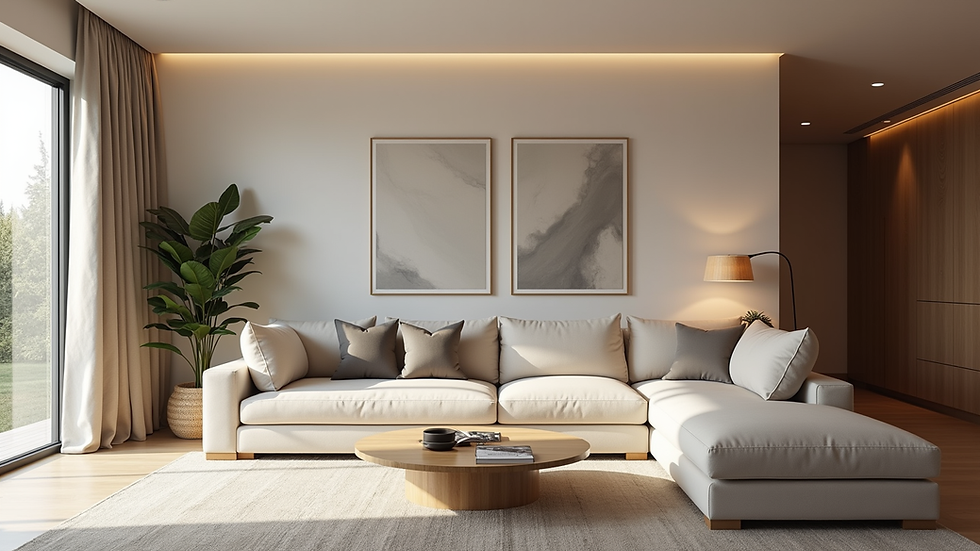
Property photography serves as a powerful tool for designers. It allows you to present your work in a way that is both engaging and informative. Here are some reasons why property photography is essential:
First Impressions Matter: High-quality images can create a strong first impression. Potential clients often make snap judgments based on visuals.
Showcase Your Style: Photography allows you to highlight your unique design style and aesthetic, making it easier for clients to connect with your work.
Increase Engagement: Well-composed images can lead to higher engagement on your website and social media platforms, driving more traffic to your portfolio.
Tell a Story: Each photograph can tell a story about the space, its functionality, and the thought process behind the design.
Understanding the Basics of Property Photography
Before diving into the art of property photography, it’s crucial to understand some basic principles that can enhance your images.
Composition
Composition refers to how elements are arranged within a photograph. Here are some key points to consider:
Rule of Thirds: Divide your frame into a 3x3 grid. Place important elements along these lines or at their intersections for a balanced look.
Leading Lines: Use natural lines in the space, such as pathways or furniture arrangements, to guide the viewer's eye through the image.
Framing: Use elements within the space to frame your subject. This can create depth and draw attention to the focal point.
Lighting
Lighting is one of the most critical aspects of photography. Here are some tips for achieving the best lighting:
Natural Light: Whenever possible, use natural light. Shoot during the golden hour (early morning or late afternoon) for soft, flattering light.
Avoid Harsh Shadows: Be mindful of shadows that can distract from the design. Use reflectors or diffusers to soften harsh light.
Use Artificial Light Wisely: If natural light isn’t available, use soft artificial lighting to illuminate the space without creating harsh contrasts.
Angles
The angle from which you shoot can dramatically change the perception of a space. Here are some angles to consider:
Eye-Level: This is the most natural perspective and works well for most spaces.
High Angle: Shooting from above can provide a unique view and showcase layout and flow.
Low Angle: This can make a space feel larger and more dramatic.
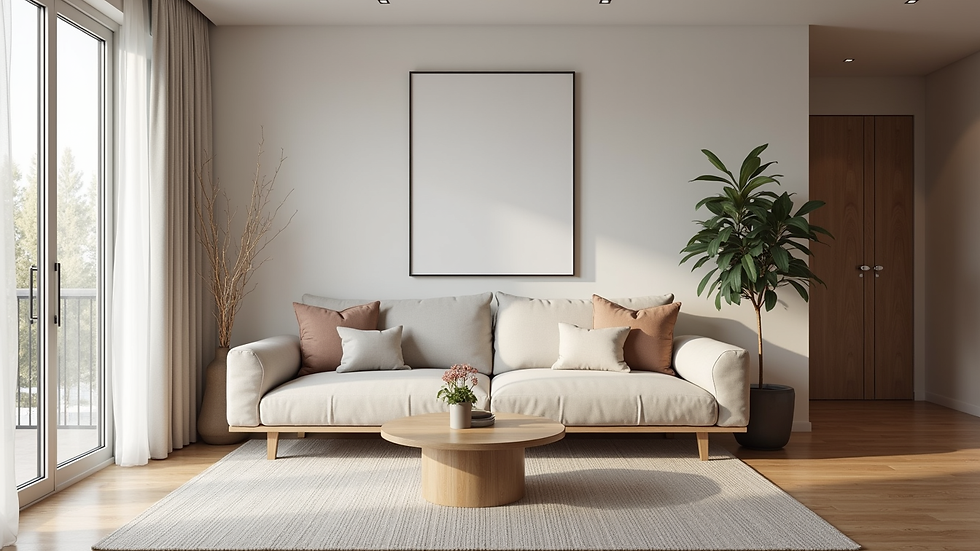
Preparing the Space for Photography
Before you start shooting, it’s essential to prepare the space. Here are some steps to ensure everything looks its best:
Declutter
Remove any unnecessary items that may distract from the design. A clean space allows the design elements to shine.
Stage the Space
Consider adding or rearranging furniture to create a more inviting atmosphere. Use accessories like cushions, throws, and plants to add warmth and character.
Clean and Polish
Ensure that surfaces are clean and polished. Dust, fingerprints, and smudges can detract from the overall quality of your images.
Post-Processing Techniques
After capturing your images, post-processing can enhance their quality. Here are some techniques to consider:
Color Correction
Adjust the colors to ensure they accurately represent the space. This may involve correcting white balance and saturation levels.
Cropping
Crop images to improve composition and focus on key elements. Be careful not to cut off important parts of the design.
Sharpening
Apply sharpening to enhance details, but avoid overdoing it, as this can create an unnatural look.
Showcasing Your Work
Once you have your stunning images, it’s time to showcase them effectively. Here are some strategies:
Create a Portfolio
Compile your best images into a portfolio that reflects your style and expertise. Consider organizing it by project type or design style.
Use Social Media
Share your images on social media platforms to reach a broader audience. Use relevant hashtags and engage with your followers to build a community around your work.
Collaborate with Influencers
Partnering with influencers in the design space can help amplify your reach. They can share your work with their audience, providing valuable exposure.
Conclusion
Mastering the art of property photography can significantly impact your design career. By understanding the basics of composition, lighting, and angles, you can create stunning images that showcase your work effectively. Remember to prepare your space, utilize post-processing techniques, and showcase your images strategically. With these skills, you can elevate your portfolio and attract more clients, ultimately leading to greater success in your design endeavors.
Take the next step in your design journey by investing time in property photography. Your work deserves to be seen in the best light.

Comments